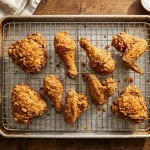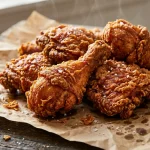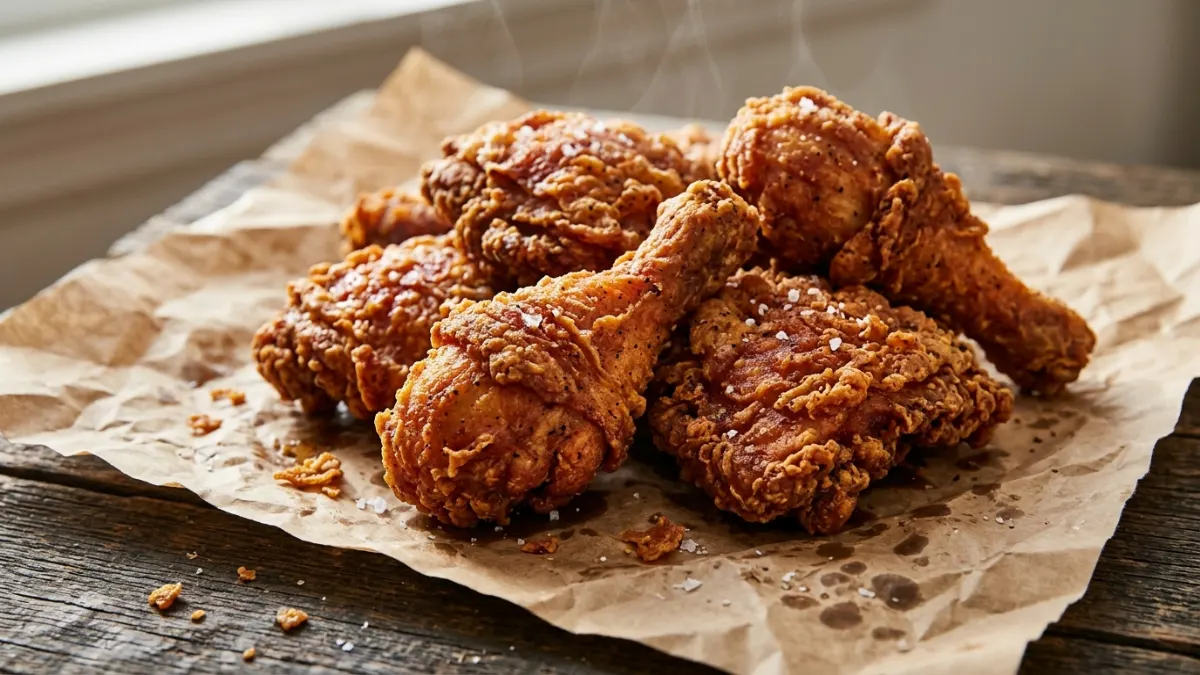
Crispy, golden-brown fried chicken does not require commercial fryers or complicated two-day brining schedules. This straightforward method relies on a seasoned buttermilk soak to tenderize the meat, a well-spiced flour dredge for a craggy crust, and a standard cast-iron skillet. By managing your oil temperature and using an instant-read thermometer, you can achieve deeply savory, fully cooked chicken with a shatteringly crisp exterior right on your stovetop.
Recipe Development Note: This recipe represents an editorial formulation based on classical pan-frying ratios and official food-safety guidelines. While built on established culinary science, it is an untested kitchen proposal in this specific published format; home cooks should always rely on a calibrated probe thermometer for final food safety.
Easy Skillet Fried Chicken
An approachable, classic pan-fried chicken featuring a crunchy, seasoned coating and tender, juicy meat.
- Yield: 8 pieces (serves 4 to 6)
- Prep Time: 20 minutes
- Inactive Marinating Time: 1 to 4 hours
- Cook Time: 25 to 30 minutes (in two batches)
- Total Elapsed Time: 1 hour 45 minutes to 4 hours 50 minutes
Equipment
- 12-inch heavy skillet (cast iron preferred; at least 2 inches deep)
- Deep-fry or candy thermometer (clip-on)
- Instant-read digital meat thermometer
- Rimmed baking sheet fitted with a wire cooling rack
- Tongs
- 2 large mixing bowls
Ingredients
Buttermilk Marinade:
- 3 pounds (1.36 kg) bone-in, skin-on chicken pieces (drumsticks, thighs, and bone-in breasts cut crosswise into halves)
- 2 cups (480 ml) whole buttermilk
- 1 tablespoon (15 ml) hot sauce (optional, for mild acidity and flavor)
- 1 1/2 teaspoons (9 g) fine sea salt
- 1/2 teaspoon freshly ground black pepper
Seasoned Flour Dredge:
- 2 cups (240 g) all-purpose flour
- 1/4 cup (32 g) cornstarch
- 1 tablespoon (8 g) garlic powder
- 1 tablespoon (8 g) onion powder
- 1 tablespoon (7 g) smoked or sweet paprika
- 1 1/2 teaspoons (9 g) fine sea salt
- 1 teaspoon freshly cracked black pepper
- 1/2 teaspoon cayenne pepper (optional)
For Frying:
- 3 to 4 cups (720 to 960 ml) peanut oil, vegetable oil, or lard (enough to reach 1/2 to 3/4 inch up the sides of the skillet)
Instructions
- Marinate the Chicken: In a large bowl, whisk together the buttermilk, hot sauce, 1 1/2 teaspoons salt, and 1/2 teaspoon black pepper. Submerge the chicken pieces, ensuring all surfaces are coated. Cover and refrigerate for at least 1 hour, or up to 4 hours.
- Set Up the Workstation: Place a wire cooling rack inside a rimmed baking sheet next to your stove. In a wide, shallow bowl or baking dish, whisk together the flour, cornstarch, garlic powder, onion powder, paprika, 1 1/2 teaspoons salt, 1 teaspoon black pepper, and cayenne pepper until completely blended.
- Dredge the Chicken: Drizzle 3 tablespoons of the buttermilk marinade directly from the chicken bowl into the dry flour mixture. Run your fingers through the flour to create small, shaggy clumps (these clumps become extra-crispy bits during frying). Working with 2 pieces at a time, lift the chicken from the marinade, allowing excess liquid to drip off for 2 to 3 seconds. Press the chicken firmly into the flour mixture, turning several times to pack the flour into every fold and crevice. Shake off light excess, then transfer the coated pieces to a dry plate or tray. Let them rest undisturbed for 10 minutes; this allows the flour to hydrate and adhere, preventing the crust from sloughing off in the hot oil.
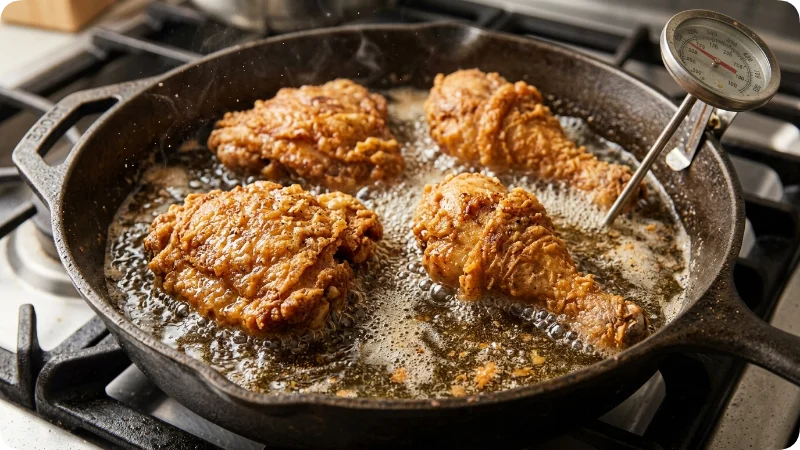
- Heat the Oil: Pour oil into the 12-inch skillet to a depth of roughly 1/2 to 3/4 inch. Clip a fry thermometer to the side of the pan, making sure the probe tip is fully submerged in oil but not touching the pan bottom. Heat over medium-high heat until the oil reaches 350°F (177°C).
- Fry the First Batch: Carefully lower half of the chicken pieces (typically 4 pieces, such as the thighs and drumsticks) skin-side down into the hot oil, laying them away from you to prevent splashing. The oil temperature will drop immediately to around 315°F–325°F (157°C–163°C); adjust your stovetop burner to maintain an active frying temperature between 325°F and 335°F (163°C–168°C). Fry uncovered for 12 to 15 minutes total, turning the pieces once with tongs halfway through (around the 6-to-7-minute mark), until the exterior is a deep, rich golden brown.
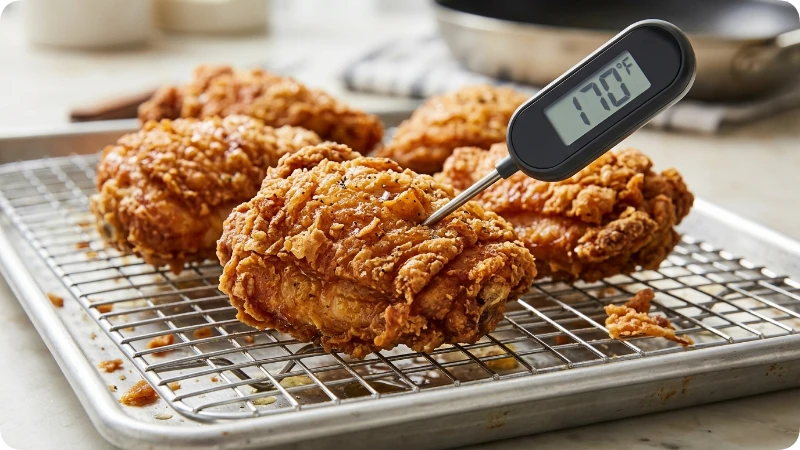
- Verify Safe Internal Temperature: Insert an instant-read probe thermometer into the thickest section of each piece, avoiding direct contact with the bone. Remove each piece only when the internal temperature registers at least 165°F (74°C). (Thighs and drumsticks often benefit in tenderness from reaching 175°F–180°F [79°C–82°C], provided they do not burn). Transfer the finished chicken to the prepared wire cooling rack to drain.
- Fry the Second Batch: Allow the oil temperature to recover to 350°F (177°C). Skim out any loose, blackened flour bits from the skillet with a fine metal mesh skimmer. Fry the remaining pieces (such as the halved breasts), adjusting heat to keep the oil steady at 325°F–335°F (163°C–168°C). Halved breasts typically cook through in 10 to 12 minutes. Confirm 165°F (74°C) internal doneness with the thermometer before transferring to the wire rack.
- Rest and Serve: Allow the chicken to rest on the wire rack for 5 to 10 minutes before serving. This lets residual steam disperse without softening the crust while the meat retains its juices.
Key Ingredients and Substitutions
- Bone-In, Skin-On Chicken: Whole bone-in cuts retain moisture significantly better during pan frying than boneless cuts. If using boneless, skinless chicken thighs or breasts, reduce the cooking time to roughly 6 to 8 minutes per batch and begin checking internal temperatures early.
- Buttermilk: The mild lactic acid in buttermilk relaxes the muscle fibers without turning the meat mushy. If buttermilk is unavailable, whisk 2 cups of whole milk with 2 tablespoons of distilled white vinegar or fresh lemon juice and let stand for 10 minutes until lightly curdled.
- Cornstarch: Blending cornstarch with standard all-purpose flour lowers the overall gluten percentage of the dredge. Gluten develops elasticity when hydrated; diluting it yields a more brittle, shatteringly crisp crust rather than a chewy or bread-like shell.
- Frying Fat: Choose an oil with a high smoke point (400°F/204°C or above) and neutral flavor, such as peanut oil, canola oil, or corn oil. Traditional rendered lard yields exceptional browning and flavor, whereas extra-virgin olive oil or unrefined butter will smoke, burn, and become bitter at these temperatures.
Before You Begin: Setup and Safety
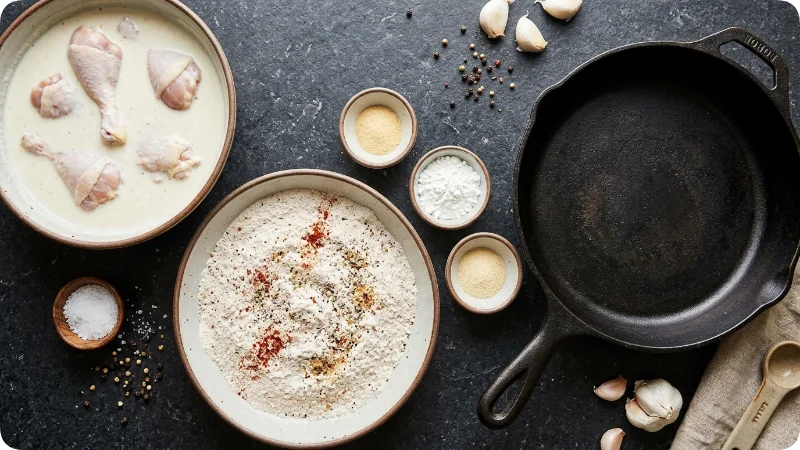
- Bring Chicken to Room Temperature: Pull the marinating chicken from the refrigerator 20 to 30 minutes before frying. Frying ice-cold poultry causes the oil temperature to plummet drastically, leading to greasy, soggy breading.
- Clear the Stove Area: Skillet frying produces slight grease spatter. Keep water glasses, paper towels, and non-cooking clutter well away from the pan. Keep a metal pan lid or baking sheet nearby to smother the pan in the rare event of a flare-up; never pour water on a grease fire.
- Elevate the Cooling Surface: Always drain fried foods on an elevated wire cooling rack rather than paper towels. Resting freshly fried chicken flat on paper towels traps escaping steam underneath the meat, immediately softening the bottom crust.
Step-by-Step Cooking Decisions
Why We Add Liquid to the Dredge
Whisking a small amount of liquid marinade directly into the dry seasoned flour produces small moistened aggregates before the chicken enters the bowl. When these flour pebbles hit the chicken surface and subsequently fry in the hot oil, they expand into jagged, crunchy ridges, creating maximum surface area for crunch.
Managing Stovetop Heat
The primary challenge of skillet frying is heat control. When cold chicken enters 350°F oil, thermal mass pulls the oil temperature down. Do not turn the burner down immediately. Monitor your clip-on thermometer: keep the flame moderately high until the oil stabilizes at 325°F, then adjust incrementally. If the oil runs hotter than 350°F during cooking, the flour will scorch dark brown before the meat near the bone reaches 165°F. If the oil drops below 300°F, the batter absorbs excess fat before crisping.
Troubleshooting Common Problems
| Problem | Root Cause | Prevention & Fix |
| Breading falls off the chicken | Meat was too wet, or flour was not allowed to set prior to frying. | Shake off dripping marinade so only a thin coating remains. Let breaded chicken rest on a dry tray for 10 minutes before dropping into the oil. |
| Crust is dark brown/burnt, but meat is raw inside | Oil temperature was too high (above 360°F/182°C). | Monitor oil with a thermometer; hold at 325°F–335°F. If the exterior is already dark but the inside registers below 165°F, transfer the chicken to a 350°F (177°C) oven on a baking sheet to finish baking through. |
| Crust is pale, soft, and greasy | Oil temperature was too low (below 300°F/149°C), or pan was overcrowded. | Fry strictly in batches (no more than 4 pieces at once in a 12-inch skillet). Allow oil to recover to 350°F before dropping the next batch. |
| Meat near the bone has red/purple discoloration | Hemoglobin in porous young chicken bones seeps out during cooking. | This is safe provided an accurate meat thermometer confirms the meat has reached 165°F (74°C). Rely on temperature, not pink hues near the joint. |
Storage, Reheating, and Make-Ahead Guidance
- Make-Ahead: Chicken can marinate in the buttermilk mixture up to 12 hours in the refrigerator. Do not dredge in flour ahead of time; flour that sits on wet chicken for longer than 15 minutes turns into a wet paste that cooks into a leathery skin.
- Cooling and Refrigeration: Let leftover chicken cool to room temperature on a wire rack for no longer than 1 hour. Store in a shallow, airtight container lined with a dry paper towel to catch residual moisture. Keep refrigerated at 40°F (4°C) or below for up to 3 to 4 days.
- Reheating for Crispness: Do not use a microwave; microwave heating steams the crust and renders it rubbery. To reheat, preheat your oven or toaster oven to 375°F (190°C). Place the chicken pieces on an elevated wire rack over a baking sheet and bake for 12 to 18 minutes until thoroughly warmed through (internal temperature of 165°F) and the skin sizzles. For air fryers, reheat at 360°F (182°C) for 4 to 6 minutes.
FAQs
Can I make this in an air fryer instead?
Pan-fried chicken dredged in raw dry flour does not cook identically in an air fryer. Without submersion in hot oil, dry flour spots remain powdery unless sprayed heavily with cooking oil. If using an air fryer, spray all sides thoroughly with oil and cook at 375°F (190°C) for 22 to 26 minutes, flipping halfway through.
Why do you cut the chicken breast in half?
A standard grocery store chicken breast is significantly thicker and heavier than drumsticks or thighs. Cutting breasts crosswise into two smaller, equal-sized pieces allows them to cook through in the skillet at roughly the same rate as the dark meat without over-browning the crust.
What is the safest way to dispose of the used frying oil?
Let the oil cool completely in the skillet for several hours until it reaches room temperature. Strain it through a fine mesh sieve or cheesecloth into a clean glass or metal container if you plan to reuse it (clean oil can typically be reused once or twice for frying poultry). If discarding, funnel the cold oil into a non-recyclable sealable container (such as an empty milk carton or tin can) and throw it in the trash. Never pour cooking oil down household plumbing.
Final Summary
Mastering homemade fried chicken comes down to three essentials: a tenderizing buttermilk soak, a cornstarch-enhanced dredge for maximum crunch, and steady skillet heat control. By frying in batches and checking for a safe 165°F (74°C) with an instant-read thermometer, you ensure deeply flavorful, juicy meat encased in a shatteringly crisp, golden crust every time.

Leo Campbell is the founder, recipe developer, and culinary voice behind Recipe Morsil. With nearly a decade of hands-on home cooking and professional baking experience, Leo tests every recipe multiple times to ensure reliable, fail-proof results in real home kitchens. When he’s not fine-tuning spices or testing cook times, he’s helping home cooks build confidence one bite at a time.
Connect with Leo via [Instagram/Email] or explore his verified recipes below.