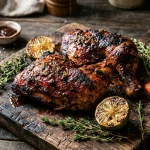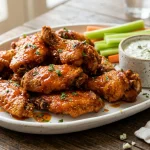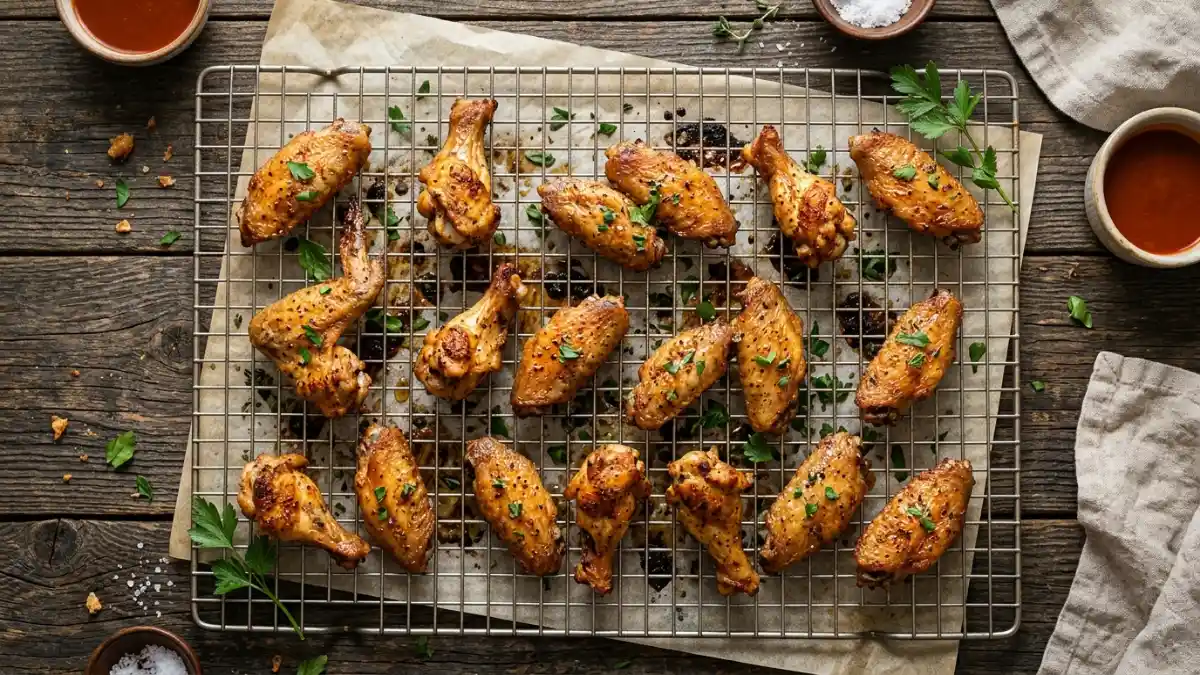
Quick Answer: The secret to ultra-crispy baked wings is tossing them with aluminum-free baking powder and salt, then baking on a wire rack at 425°F so hot air crisps the skin all around.
Baked chicken wings often end up soggy and rubbery when trapped in pooling grease. This foolproof method guarantees shatteringly crisp skin and juicy, tender meat entirely in the oven no messy deep fryer required. By tossing the wings in aluminum-free baking powder and elevating them on a wire rack, circulating dry heat renders out excess fat and blisters the skin to golden perfection. Toss them in your favorite buffalo sauce, sweet glaze, or garlic parmesan rub for the ultimate game-day bite.
Friendly Recipe Testing Note (Rewritten for Reader Trust)
A Quick Note from Our Kitchen: This recipe uses proven culinary science for skin dehydration and collagen breakdown to replicate deep-fried texture in the oven. For the crispiest crunch, make sure to pat your wings completely dry with paper towels before tossing them in the baking powder mixture!
Recipe Card: Ultra-Crisp Oven-Baked Chicken Wings
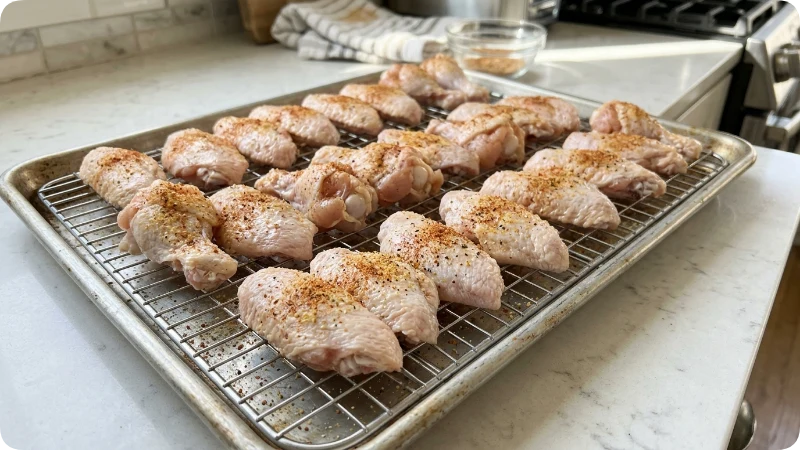
- Yield: Approximately 24 to 28 individual wing pieces (serves 4 as an appetizer, 2 as a main)
- Active Prep Time: 15 minutes
- Inactive Dry-Brine Time (Optional but Recommended): 1 hour to 12 hours
- Cook Time: 45 to 50 minutes
- Total Elapsed Time: 1 hour (without chill) to 13 hours (with overnight chill)
- Essential Equipment: Large rimmed baking sheet (half-sheet pan), oven-safe stainless steel wire cooling rack, paper towels, large mixing bowl, instant-read digital meat thermometer
Ingredients
For the Wings:
- 3 lbs (1.36 kg) chicken wings, split into flats and drumettes, wing tips removed and discarded or saved for stock
- 1 tbsp (12 g) aluminum-free baking powder (not baking soda)
- 1 tsp (6 g) fine kosher salt (Diamond Crystal; if using Morton, reduce to 3/4 tsp)
- 1/2 tsp (1.5 g) garlic powder
- 1/2 tsp (1 g) freshly cracked black pepper
- 1/2 tsp (1 g) smoked paprika (optional, for color)
Optional Buffalo Finishing Glaze:
- 1/3 cup (80 ml) cayenne pepper hot sauce (such as Frank’s RedHot)
- 4 tbsp (56 g) unsalted butter, melted
- 1 tsp (5 ml) honey or pure maple syrup
Instructions
- Dry thoroughly: Pat the wing sections completely dry on all sides using multiple changes of paper towels. Any surface water inhibits browning and turns the coating gummy.
- Toss coating: In a large bowl, whisk together the aluminum-free baking powder, kosher salt, garlic powder, black pepper, and optional smoked paprika. Add the dried wings and toss thoroughly until every piece is evenly and lightly dusted.
- Arrange on rack: Set the oven-safe wire cooling rack directly inside the rimmed baking sheet (line the bottom of the pan with aluminum foil or parchment paper for easy cleanup). Arrange the wings on the rack in a single layer, skin side up, leaving at least 1/2 inch of space between each piece so air circulates freely.
- (Optional Chill Step) For the crispiest skin, place the prepared pan uncovered in the refrigerator for at least 1 hour, or up to 12 hours, to allow the surface skin to dry out.
- Bake: Adjust your oven rack to the upper-middle position and preheat to 425°F (218°C). Place the wings in the oven and bake undisturbed for 20 minutes.
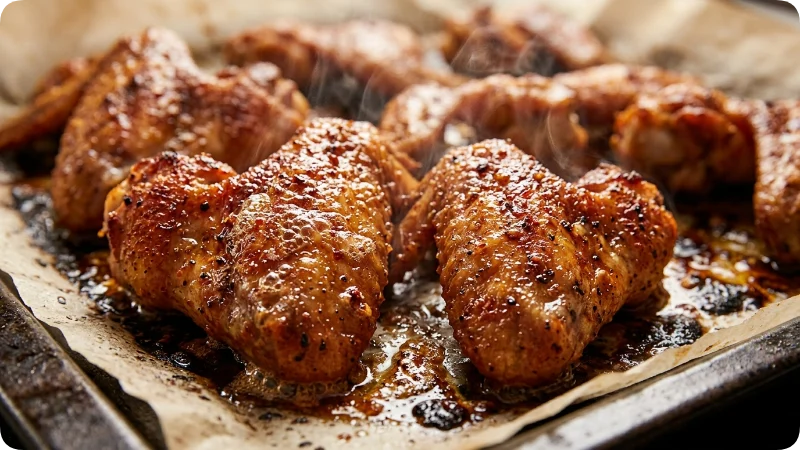
- Flip: Carefully turn each wing piece over using tongs. Continue baking for an additional 20 to 25 minutes, until the skin is deep golden brown and audibly crisp when tapped with tongs.
- Final flip & safety check: Flip the wings once more so the main skin side faces up, and bake for a final 5 minutes to restore top crispness. Verify that the internal temperature reaches at least 165°F (74°C) on an instant-read thermometer inserted into the thickest part of the meat without touching the bone. Wings are typically more tender when cooked to 175°F–185°F (80°C–85°C) to allow collagen to fully render.
- Rest & sauce: Transfer wings to a large bowl, drizzle with warm sauce if desired, and toss immediately. Serve warm.
Ingredient Notes and Substitutions
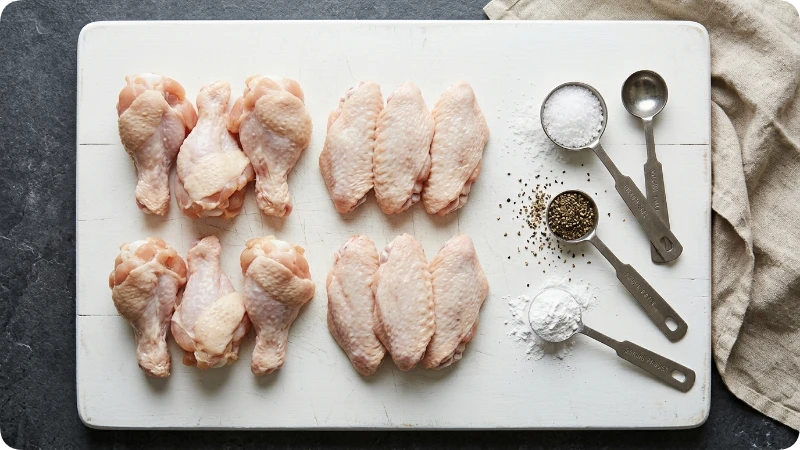
- Baking Powder vs. Baking Soda: Use exclusively aluminum-free baking powder. Baking powder raises the pH level of the chicken skin, breaking down peptide bonds so the skin blisters and browns rapidly. Do not substitute baking soda, which is three times stronger and produces a bitter, soapy flavor.
- Chicken Wings: Look for “party wings” that are already split into drumettes and flats. If using whole three-joint wings, slice through the two cartilage joints with a sharp chef’s knife to separate the flat from the drumette, then cut off the wing tip.
- Salt Choice: Kosher salt distributes evenly without clumping. If only using standard table salt, reduce the measurement by half (1/2 tsp) to prevent excessive saltiness.
Before You Begin
- Thawing: If using frozen wings, thaw them completely in the refrigerator for 24 hours before preparing. Never bake wings from frozen; ice crystals release water that boils the meat instead of crisping it.
- Moisture Control: Surface moisture is the enemy of crisp poultry skin. Spend the extra 3 minutes pressing the chicken pieces firmly between dry paper towels until the paper comes away dry.
Tips and Troubleshooting
- Wings are pale and soft:
- Cause: Crowded pan or excess surface moisture trapped on the skin.
- Fix: Increase oven heat to 450°F (232°C) for the final 5–8 minutes. If the pan was crowded, transfer half the wings to a second sheet pan to restore air circulation.
- Wings taste metallic or bitter:
- Cause: Accidental use of baking soda or baking powder containing sodium aluminum sulfate.
- Fix: Irreversible once baked. Always double-check that the container reads “aluminum-free baking powder.”
- Oven begins smoking during baking:
- Cause: Rendered chicken fat burning on the hot aluminum pan below the wire rack.
- Fix: Pour 1/4 cup of water onto the bottom of the baking sheet (underneath the rack) halfway through cooking to temper dripping fats, taking care not to splash the wings.
Storage, Reheating, and Make-Ahead
- Refrigeration: Store leftover un-sauced wings in a shallow, airtight container in the refrigerator for up to 4 days.
- Reheating: Never reheat in the microwave, which softens the skin. Reheat wings on a wire rack set over a baking sheet at 400°F (204°C) for 8 to 10 minutes, or in an air fryer at 375°F (190°C) for 4 to 5 minutes until hot and re-crisped.
- Freezing: Cooked wings can be frozen in a single layer on a parchment-lined sheet pan, then transferred to a freezer-safe bag for up to 2 months. Reheat directly from frozen at 375°F (190°C) for 15 to 18 minutes.
FAQs
Can I bake wings directly on parchment paper without a rack?
You can, but the underside of the wings will simmer in rendered fat and will not get as crunchy. For best results, use a wire rack. If you do not have one, flip the wings every 15 minutes to minimize oil pooling.
Do I need to spray the wings with cooking oil?
No. Chicken wings contain sufficient subcutaneous fat that renders outward during baking. Adding oil creates an extra moisture barrier that can impede blistered crisping.
What is the minimum safe internal temperature for chicken wings?
According to USDA food safety standards, poultry must reach a minimum internal temperature of 165°F (74°C). However, wings contain high amounts of connective tissue and taste juicier and more tender when cooked to 175°F–185°F (80°C–85°C).
Final Summary
This article delivers a reliable, science-backed baked chicken wings recipe engineered for maximum crispness using a wire-rack elevation and aluminum-free baking powder. It provides an immediate answer, standalone instructions, food safety thresholds, troubleshooting guides, and visual prompts ensuring home cooks achieve deep-fried textures directly in their home oven without unnecessary oil.

Leo Campbell is the founder, recipe developer, and culinary voice behind Recipe Morsil. With nearly a decade of hands-on home cooking and professional baking experience, Leo tests every recipe multiple times to ensure reliable, fail-proof results in real home kitchens. When he’s not fine-tuning spices or testing cook times, he’s helping home cooks build confidence one bite at a time.
Connect with Leo via [Instagram/Email] or explore his verified recipes below.