Quick Answer: Sear seasoned chicken thighs, toast long-grain rice in the savory pan drippings, and simmer together in chicken broth for 45 minutes for an easy one-pot dinner.
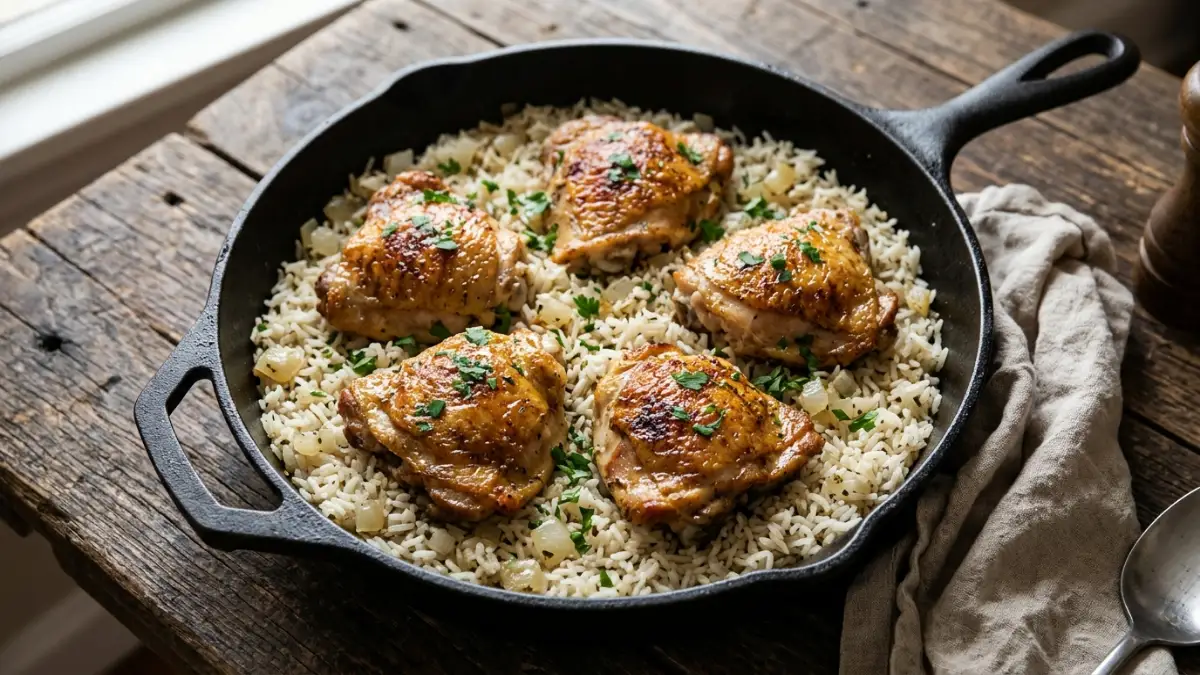
This easy one-pot chicken and rice is the ultimate weeknight comfort meal, pairing crisp, golden-brown chicken thighs with tender, fluffy rice simmered directly in savory chicken broth and pan drippings. By searing the poultry first and toasting the long-grain rice in the flavorful rendered fat, every single grain absorbs deep, aromatic flavor while cooking to tender perfection under a tight-fitting lid. It delivers juicy, fall-apart chicken and distinct, non-mushy rice in just 45 minutes all with basic pantry staples and only one skillet to wash when dinner is done.
A Quick Note from Our Kitchen: This recipe uses a proven 1:2 rice-to-broth ratio and gentle braising principles to keep the grains fluffy and the meat juicy. Keep the skillet tightly covered on low heat during the simmer so the steam stays trapped, and let it rest off the heat for 5 minutes before fluffing with a fork!
One-Pot Chicken and Rice
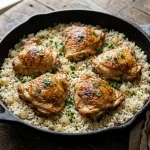
Description: Bone-in, skin-on chicken thighs seared until golden and simmered with long-grain white rice, garlic, and onions in a seasoned broth.
Yield: Approximately 4 servings (1 chicken thigh and about 3/4 cup cooked rice per serving).
Prep Time: 15 minutes
Cook Time: 30 minutes
Inactive Resting Time: 10 minutes
Total Elapsed Time: 55 minutes
Essential Equipment: 12-inch heavy-bottomed skillet or Dutch oven with a tight-fitting lid; instant-read digital meat thermometer; kitchen tongs.
Ingredients
For the Chicken:
- 4 bone-in, skin-on chicken thighs (about 1.5 to 1.75 lbs total, trimmed of excess loose fat)
- 1 teaspoon kosher salt (divided: 3/4 tsp for chicken, 1/4 tsp for rice)
- 1/2 teaspoon freshly ground black pepper (divided: 1/4 tsp for chicken, 1/4 tsp for rice)
- 1 teaspoon sweet paprika
- 1/2 teaspoon dried thyme
- 1 tablespoon olive oil
For the Rice and Aromatics:
- 1 medium yellow onion, finely diced (about 1 cup)
- 3 cloves garlic, minced
- 1 cup uncooked long-grain white rice, thoroughly rinsed until water runs clear and well-drained
- 2 cups low-sodium chicken broth (room temperature or warm)
- 1 dried bay leaf
- 2 tablespoons chopped fresh flat-leaf parsley (optional, for garnish)
Instructions
Prep and Sear the Chicken
- Season the chicken: Pat the chicken thighs thoroughly dry on all sides using paper towels. In a small bowl, combine 3/4 teaspoon kosher salt, 1/4 teaspoon black pepper, 1 teaspoon paprika, and 1/2 teaspoon dried thyme. Rub the spice mixture evenly across both sides of the chicken thighs.
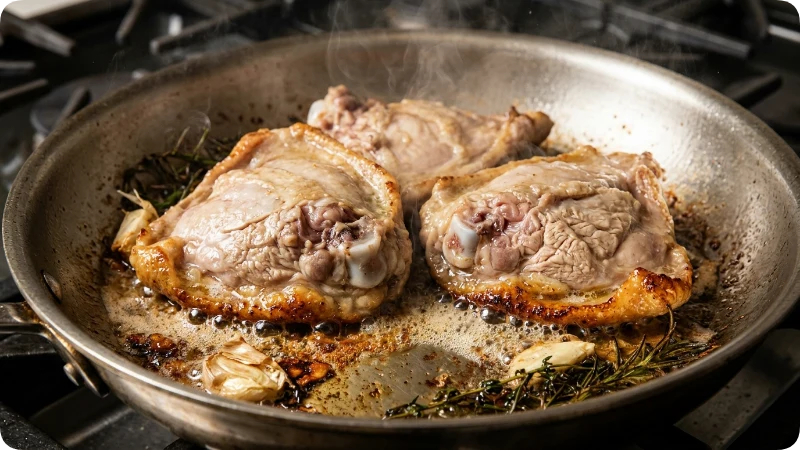
- Sear the chicken: Heat 1 tablespoon olive oil in a 12-inch heavy skillet over medium-high heat until shimmering, about 2 minutes. Place the chicken thighs skin-side down into the skillet. Cook without moving them for 6 to 8 minutes, until the skin turns deep golden-brown and releases cleanly from the pan. Flip and sear the second side for 3 minutes. Transfer the chicken to a clean plate; the chicken will not be cooked through at this stage.
Build the Flavor Base and Toast the Rice
- Cook the aromatics: Lower the heat to medium. Add the diced onion to the rendered fat in the skillet. Cook for 3 to 4 minutes, stirring frequently with a wooden spoon to scrape up browned bits (fond) from the bottom, until softened and translucent. Add the minced garlic and cook for 30 to 45 seconds until fragrant, ensuring the garlic does not brown.
- Toast the rice: Add the rinsed and drained long-grain white rice to the skillet with the remaining 1/4 teaspoon salt and 1/4 teaspoon pepper. Stir continuously for 1 to 2 minutes until the grains are coated with fat and appear translucent at the edges with a faint nutty aroma.
Assemble and Simmer
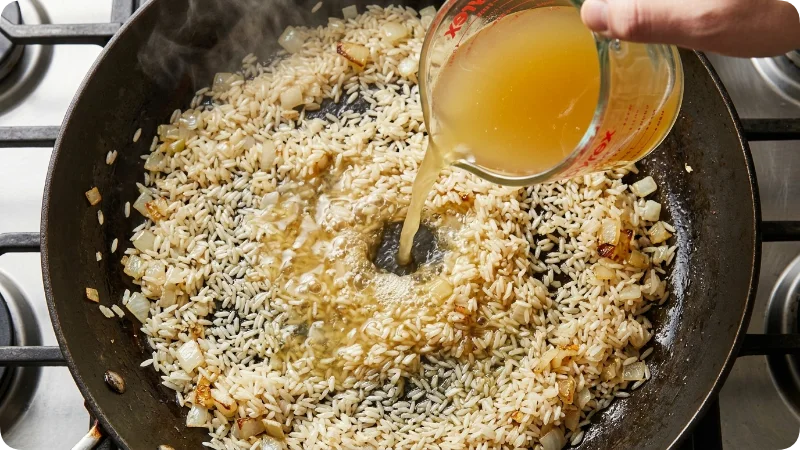
- Add liquid and assemble: Pour in the 2 cups of chicken broth, stirring to scrape up any remaining browned bits from the pan bottom. Add the bay leaf and bring the liquid to a rolling boil across the entire surface of the skillet. Once boiling, arrange the chicken thighs skin-side up on top of the rice bed, nestling them slightly into the grains while keeping the crispy skin above the liquid level. Pour any accumulated juices from the resting plate back into the pan.
- Simmer covered: Immediately cover the skillet with a tight-fitting lid and reduce the heat to low. Simmer undisturbed for 17 to 20 minutes. Do not remove the lid during the first 17 minutes, as escaping steam will disrupt the rice cooking process.
Check Doneness, Rest, and Serve
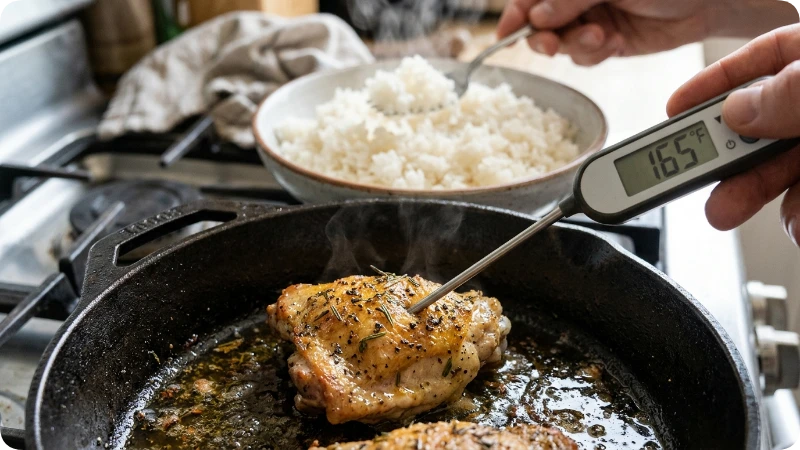
- Check doneness and safety: Remove the lid. Insert an instant-read digital meat thermometer into the thickest portion of the largest chicken thigh without touching bone. Ensure the internal temperature reads at least 165°F (74°C); chicken thighs often reach optimal tenderness between 175°F and 185°F (79°C–85°C). Check the rice: the liquid should be fully absorbed, and the grains should be tender. If liquid remains or the rice is slightly firm, replace the lid and cook on low for an additional 2 to 3 minutes.
- Rest and serve: Remove the pan from heat. Discard the bay leaf. Keep the lid on and allow the skillet to rest undisturbed for 10 minutes off the heat to allow the rice starch to set. Fluff the rice around the chicken thighs with a fork, garnish with chopped parsley if desired, and serve warm.
Ingredient Notes and Substitutions
- Chicken Cut: Bone-in, skin-on thighs provide natural rendered fat to coat the rice and stay moist during the covered simmer. Boneless, skinless chicken thighs can be substituted in equal weight; reduce the initial sear time to 3 to 4 minutes per side, as they brown faster without skin. Boneless chicken breasts are not recommended for this specific simmer duration, as they will dry out before the rice tenderizes.
- Rice Variety: Standard long-grain white rice (such as American long-grain or Jasmine) releases less surface amylopectin, keeping the grains separate and fluffy. Short-grain or sushi rice contains higher starch levels and produces a sticky, gummy texture. If substituting long-grain brown rice, cooking time must increase to 40–45 minutes and liquid must increase to 2.25 — 2.5 cups; this alteration requires cooking the rice partially before adding the chicken back to prevent overcooking the meat.
- Liquid Selection: Low-sodium chicken broth allows accurate salt control. If using regular sodium broth or bouillon cubes, omit the additional salt added to the rice and onion mixture.
Before You Begin
- Rinse the Rice: Place the rice in a fine-mesh strainer and rinse under cold running water until the runoff is clear. Shake vigorously to remove excess water. Removing loose surface starch prevents the grains from sticking together into a gluey mass during cooking.
- Dry the Poultry: Wet chicken skin creates steam when it hits hot oil, preventing proper browning. Pat the thighs dry with paper towels right before seasoning.
How to Make It: Step-by-Step Guidance
- Browning the Skin: The fond the concentrated layer of caramelized proteins left on the bottom of the pan after searing is the primary flavor base for the rice. Let the chicken sear without disturbing it; moving the meat early can tear the skin before it naturally releases.
- Toasting the Grains: Stirring dry rice in hot fat before adding broth par-cooks the outer starch layer. This technique, standard in pilaf preparation, keeps the individual grains distinct after simmering.
- Maintaining the Steam Trap: The 1:2 rice-to-liquid ratio relies on a tight seal. If steam escapes around the edges of a loose lid, the skillet will lose liquid before the rice hydrates, resulting in crunchy, undercooked grains or a scorched bottom. Use a sheet of aluminum foil crimped tightly over the skillet before setting the lid down if your lid fits loosely.
Tips and Troubleshooting
- Problem: The bottom layer of rice is scorched, but the center is still hard.
Cause: Cooker heat was too high during the covered simmer, evaporating moisture before it penetrated the rice starch.
Prevention: Use the lowest burner setting capable of maintaining a gentle simmer under the lid.
Fix: Immediately remove the pan from heat. Do not scrape the bottom. Transfer the unburned top layer of rice and chicken to a serving dish; discard the burned bottom layer. - Problem: The rice is wet or soupy after 20 minutes.
Cause: The lid fit loosely (preventing heat retention) or the heat was set too low to create gentle boiling steam.
Prevention: Ensure the broth reaches a full rolling boil across the pan before covering and turning the heat down.
Fix: Keep the chicken in the pan, leave the lid off, increase heat to medium-low, and cook for 3 to 5 minutes to let surface moisture evaporate naturally. - Problem: Chicken skin loses crispness during simmering.
Cause: Trapped steam softens the seared skin during the braise.
Prevention: Place the cooked skillet (if oven-safe) under a preheated oven broiler for 2 to 3 minutes before resting to re-crisp the skin. Watch closely to prevent burning.
Make-Ahead, Storage, and Reheating
- Refrigeration: Cool leftover chicken and rice promptly. Divide into shallow, airtight containers and refrigerate within 2 hours of cooking at or below 40°F (4°C). Store for up to 3 to 4 days.
- Freezing: Freeze in airtight freezer-safe containers or heavy-duty freezer bags for up to 3 months. Thaw overnight in the refrigerator before reheating. Note that thawed rice will be slightly softer than freshly cooked rice.
- Reheating: Reheat in a covered microwave-safe dish with 1 to 2 tablespoons of water or chicken broth per cup of rice to restore moisture, heating until steaming hot throughout (165°F / 74°C). Alternatively, reheat in a covered skillet over medium-low heat with a splash of broth until heated through.
FAQs
Can I use white basmati rice instead of standard long-grain white rice?
Yes. Long-grain white basmati works well with the same 1:2 ratio and liquid volume. Check for doneness at the 15-minute mark, as basmati often cooks slightly faster than standard long-grain varieties.
Why did my rice cook unevenly?
Uneven cooking usually stems from a pan that is too narrow (stacking the rice too deep) or an uneven burner flame. Using a wide, 12-inch skillet distributes the rice in a thin layer so all grains absorb broth at a uniform rate.
Is it safe to put raw seared chicken back in with the rice?
Yes, provided the dish simmers covered until the internal temperature of the chicken reaches at least 165°F (74°C) measured with a digital meat thermometer. The simmering liquid and trapped steam thoroughly cook the chicken through to the bone.
Can I add frozen vegetables like peas and carrots?
Yes. Stir up to 1 cup of frozen peas and diced carrots into the rice and broth mixture just before nestling the chicken thighs on top. No adjustments to cooking time or broth volume are necessary.
Final Summary
This easy one-pot chicken and rice recipe delivers seasoned bone-in chicken thighs and tender, aromatic long-grain rice cooked in a single covered skillet in 55 minutes. By searing the meat first, toasting the grains, and maintaining a tight simmer seal, home cooks achieve savory depth, minimal dish cleanup, and reliable dinner results.

Leo Campbell is the founder, recipe developer, and culinary voice behind Recipe Morsil. With nearly a decade of hands-on home cooking and professional baking experience, Leo tests every recipe multiple times to ensure reliable, fail-proof results in real home kitchens. When he’s not fine-tuning spices or testing cook times, he’s helping home cooks build confidence one bite at a time.
Connect with Leo via [Instagram/Email] or explore his verified recipes below.