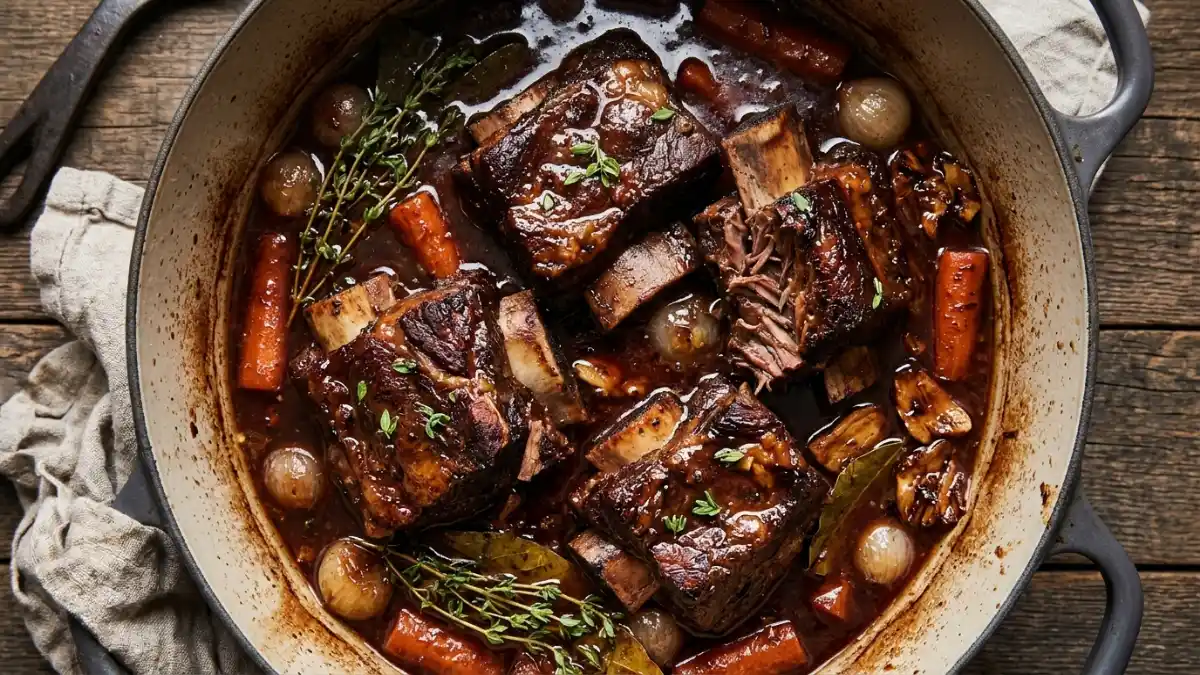
Quick Answer: Deeply sear English-cut bone-in short ribs, then gently braise submerged halfway in a rich red wine, herb, and beef broth reduction at 325°F for 3 hours until meltingly tender.
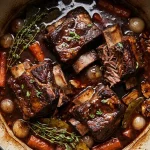
Slow-braised beef short ribs are the pinnacle of elegant, cold-weather comfort food: deeply caramelized on the outside, fall-apart tender inside, and served with a glossy, restaurant-quality red wine sauce. Cooking English-cut bone-in ribs low and slow inside a heavy Dutch oven gently transforms tough intramuscular collagen into rich, velvety gelatin without losing a drop of moisture. Built on browned aromatics, robust dry red wine, and concentrated beef stock, this foolproof braise delivers steakhouse-level depth and incredible melt-in-your-mouth texture perfect for spooning generously over creamy polenta or buttery mashed potatoes.
A Quick Note from Our Kitchen: This recipe is modeled after classical French braising ratios and domestic low-temperature oven thermodynamics. For the richest, silkier gravy, take the time to get a deep, dark brown sear on all sides of your ribs before adding your wine and aromatics that caramelized fond on the bottom of the pot creates the entire foundation of the sauce!
Classic Red Wine Braised Beef Short Ribs
Rich, unctuous bone-in beef short ribs slow-cooked in a red wine, aromatics, and beef stock braising liquid until fork-tender.
- Yield: 4 to 6 servings (approximately 4 lbs raw bone-in ribs)
- Prep Time: 25 minutes
- Cook Time: 3 hours 15 minutes
- Inactive Resting Time: 15 minutes
- Total Elapsed Time: ~3 hours 55 minutes
- Equipment: 6- to 7-quart enameled cast-iron Dutch oven with a tight-fitting lid, kitchen tongs, fine-mesh sieve, fat separator or shallow ladle.
Ingredients
For the Beef:
- 4 to 4.5 lbs (1.8 to 2.0 kg) English-cut bone-in beef short ribs (approx. 2 to 3 inches thick, cut into individual portions)
- 1½ tbsp kosher salt (Diamond Crystal or equivalent 1 tbsp fine salt), divided
- 1 tsp freshly ground black pepper
- 2 tbsp neutral, high-smoke-point oil (avocado or canola oil)
For the Braise Base:
- 1 large yellow onion, diced (about 1½ cups)
- 2 medium carrots, peeled and sliced into ½-inch rounds (about 1 cup)
- 2 stalks celery, sliced into ½-inch pieces (about ¾ cup)
- 4 cloves garlic, smashed and peeled
- 2 tbsp tomato paste
- 2 cups dry red wine (Cabernet Sauvignon, Côtes du Rhône, or Pinot Noir)
- 2½ to 3 cups low-sodium beef bone broth or rich brown beef stock (sufficient to come halfway up the ribs)
- 3 sprigs fresh thyme
- 2 sprigs fresh rosemary
- 2 dried bay leaves
Instructions
- Preheat and Prepare Equipment: Position an oven rack in the lower-middle position and preheat the oven to 325°F (163°C).
- Season the Beef: Pat the short ribs completely dry with paper towels on all surfaces. Season thoroughly on all sides with 1½ teaspoons of the kosher salt and 1 teaspoon of freshly ground black pepper.
- Brown the Ribs: Heat 2 tablespoons of neutral oil in a 6- to 7-quart Dutch oven over medium-high heat until shimmering. Working in batches of 3 or 4 to avoid crowding, place the ribs in the pot meat-side down. Sear undisturbed for 3 to 4 minutes per side until a deep, dark mahogany crust forms. Transfer browned ribs to a rimmed plate and repeat with the remaining batch. Pour off all but 2 tablespoons of rendered fat from the pot.
- Sweat Aromatics: Lower the stovetop heat to medium. Add the diced onion, carrots, and celery along with the remaining ½ teaspoon of kosher salt. Cook, stirring occasionally, until vegetables soften and onions develop light golden edges, about 6 to 8 minutes. Add the smashed garlic and tomato paste; cook continuously for 90 seconds until the paste turns a deep brick-red color and coats the vegetables.
- Deglaze with Wine: Pour in the 2 cups of dry red wine, scraping up the browned fond from the bottom of the pot with a wooden spoon. Bring to a rapid simmer over medium-high heat and reduce by roughly half, about 8 to 10 minutes, concentrating the flavor and boiling off the alcohol harshness.
- Assemble the Braise: Nest the seared ribs back into the Dutch oven bone-side down, in a single compact layer. Pour in the beef stock until the liquid reaches roughly halfway to two-thirds up the sides of the meat do not submerge the meat entirely. Tuck the thyme, rosemary, and bay leaves into the liquid. Bring the liquid to a gentle simmer on the stove.
- Braise in Oven: Cover the pot tightly with its lid and transfer to the preheated oven. Bake at 325°F (163°C) for 2½ to 3 hours. At the 2-hour mark, check the liquid level (it should maintain a gentle, slow bubble, not a rolling boil). Ribs are done when a meat fork or paring knife slips into the center with virtually zero resistance, and the meat has noticeably pulled back from the bones.
- Rest and Defat Sauce: Carefully transfer the ribs to a warm platter and tent loosely with foil. Discard the spent herb sprigs and bay leaves. Strain the braising liquid through a fine-mesh sieve into a bowl, pressing gently on the softened vegetables to extract liquid (or leave vegetables in if a rustic presentation is preferred). Allow the liquid to settle for 5 minutes, then skim the heavy rendered fat layer off the top with a ladle or pass through a fat separator.
- Reduce Sauce & Serve: Pour the defatted liquid back into the Dutch oven. Simmer over medium heat for 6 to 8 minutes until it reduces to a glossy, spoon-coating consistency (nappe). Taste and adjust seasoning with a pinch of salt or pepper if needed. Return the ribs to the sauce to warm through for 2 minutes, then spoon sauce liberally over the top to serve.
Ingredient Notes and Substitutions
- English-Cut vs. Flanken-Cut Short Ribs: English-cut ribs are sliced parallel to the bone into individual, thick, rectangular portions. Flanken-cut ribs are sliced thinly across multiple bones (commonly used for Korean BBQ/kalbi). Always select English-cut ribs for slow braising; thin-cut ribs will overcook and disintegrate long before the collagen converts to gelatin.
- Red Wine Choices & Non-Alcoholic Alternatives: Use a dry, tannic wine such as Cabernet Sauvignon, Merlot, or Syrah. Avoid sweet cooking wines or varieties labeled “cooking wine” which contain excess sodium and preservatives. If cooking without alcohol, replace the 2 cups of red wine with 1¾ cups additional rich beef stock mixed with 2 tablespoons of tomato paste and 2 tablespoons of balsamic vinegar or red wine vinegar to provide balancing acidity.
- Beef Stock: High-gelatin bone broth or homemade roasted beef stock yields the best mouthfeel. If using store-bought commercial stock, choose low-sodium or unsalted varieties; reducing regular store-bought stock can make the finished sauce overly salty.
Before You Begin
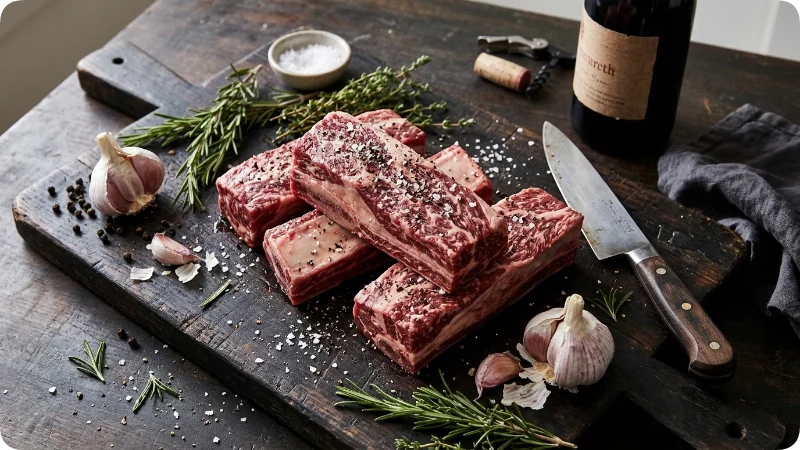
- Drying the Meat: Moisture prevents browning. Pat the ribs dry at least 15 minutes before cooking, or salt them and leave them uncovered on a wire rack in the refrigerator for up to 12 hours prior to cooking.
- Temperature Adjustment: Take the ribs out of the refrigerator 30 minutes before searing to take the chill off. This ensures the Dutch oven’s surface temperature does not drop drastically when searing.
How to Make It: Key Decisions and Checkpoints
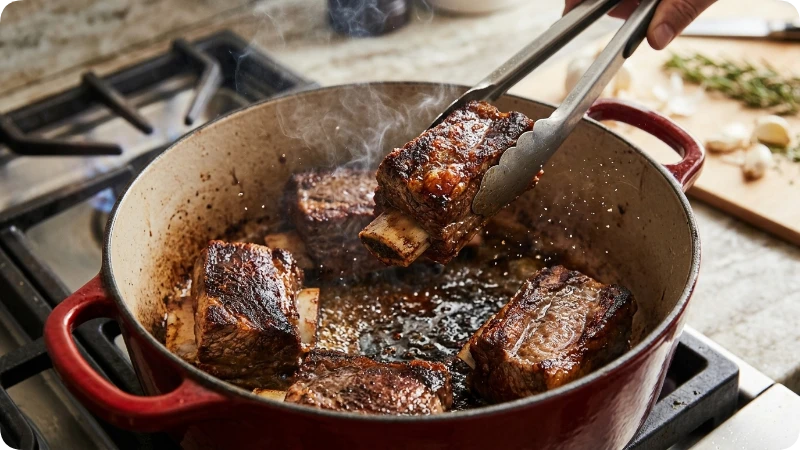
- Why Batch Searing Matters: Crowding the Dutch oven causes meat to steam in its own released moisture rather than brown via the Maillard reaction. A deep mahogany crust is essential because it forms the flavorful fond that dissolves into the braising liquid.
- Liquid Level: The meat should be exposed to hot air and radiant heat above the braising liquid line. Full submersion boils the meat rather than braising it, muting the roasted exterior flavor.
- Simmer Rate Check: Around 90 minutes in, open the lid slightly to inspect the braising liquid. You want tiny, occasional bubbles surfacing. If the liquid is boiling vigorously, lower your oven temperature by 15°F to 25°F to prevent the meat proteins from contracting too tightly.
Tips and Troubleshooting
- Problem: Meat is tough or chewy.
- Cause: Undercooked collagen. Connective tissue only converts to soft gelatin through prolonged exposure to gentle heat.
- Fix: Return the lid to the pot and continue braising in the oven for another 30 to 45 minutes, checking every 15 minutes until fork-tender.
- Problem: The sauce is excessively greasy.
- Cause: Short ribs have high intramuscular and intermuscular fat contents that render out during braising.
- Fix: Skim fat with a separator or wide spoon. If time permits, chill the braise completely in the refrigerator; the rendered fat will solidify into a hard, easily removable white disc on top.
- Problem: The sauce is too thin after braising.
- Cause: Insufficient evaporation under a tight lid.
- Fix: Remove the ribs and simmer the strained liquid over medium-high heat on the stovetop until reduced to your desired viscosity. Do not boil with the ribs inside, as rapid agitation can break apart the tender meat.
Variations and Alternative Methods
- Slow Cooker (Crock-Pot): Complete steps 2 through 5 on the stovetop using a standard skillet. Transfer browned ribs, aromatics, and reduced wine to a 6-quart slow cooker. Add beef stock (reduce volume to 1½ cups, as slow cookers release very little evaporation). Cover and cook on Low for 7 to 8 hours or High for 4 to 5 hours until completely fork-tender.
- Electric Pressure Cooker (Instant Pot): Use the Sauté function for browning the meat in batches, sweating vegetables, and reducing the wine by half. Add 1½ cups stock and seal the lid. Cook on High Pressure for 45 minutes, followed by a 15-minute natural pressure release before venting any remaining steam.
Serving Suggestions
Pair the ribs and rich pan sauce with starchy sides that absorb the sauce:
- Yukon Gold mashed potatoes with butter and cream.
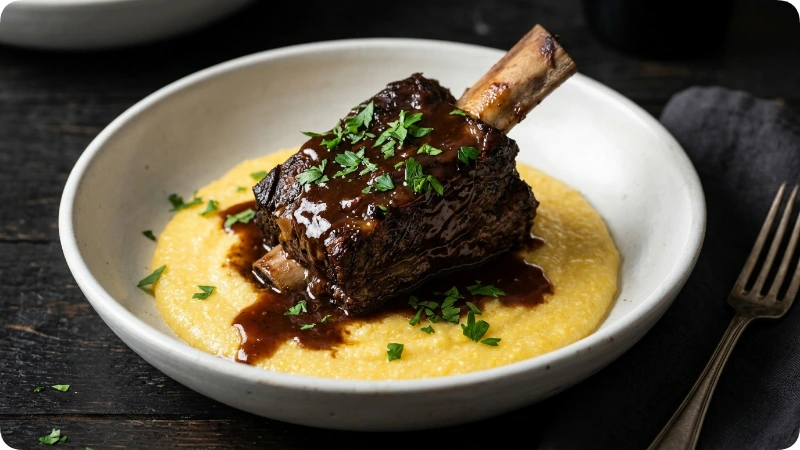
- Creamy soft polenta with grated Parmesan.
- Buttered egg noodles with fresh parsley.
- Roasted asparagus, sautéed green beans, or a crisp bitter greens salad (such as arugula or radicchio with lemon vinaigrette) to cut through the richness.
Make-Ahead, Storage, and Reheating
- Make-Ahead Advantage: Braised short ribs taste significantly better the following day as the flavors meld and fat separation becomes effortless.
- Refrigeration: Store cooled meat submerged in its braising liquid in an airtight container for up to 4 days.
- Freezing: Freeze ribs completely covered in sauce in freezer-safe containers or vacuum-sealed bags for up to 3 months. Thaw overnight in the refrigerator before reheating.
- Reheating: Place ribs and sauce in an oven-safe dish, cover tightly with foil, and warm in a 325°F (163°C) oven for 20 to 25 minutes, or until the internal temperature reaches at least 165°F (74°C).
FAQs
Can I leave the vegetables in the sauce instead of straining them?
Yes. While classical preparations strain the aromatics for a smooth, glossy restaurant finish, leaving the soft carrots and onions in the pan creates a hearty, rustic presentation.
How do I know when short ribs are officially done?
Short ribs are done when a fork inserted into the thickest part twists and pierces through with almost zero resistance. Rely on tenderness cues rather than internal temperature alone, though braised beef typically reaches tenderness between 200°F and 205°F (93°C to 96°C).
Why did my ribs turn dry despite cooking in liquid?
If ribs cook at too high a temperature (a rolling boil instead of a gentle braise), meat fibers squeeze out their natural moisture faster than collagen can melt, leading to a stringy, dry texture. Keep heat low and gentle.
Can I make this with boneless short ribs?
Yes. Use the same weight of boneless beef short ribs. Check for tenderness approximately 30 minutes earlier, as boneless cuts cook slightly faster.
Summary
This comprehensive guide details how to make tender braised beef short ribs using English-cut ribs, aromatics, and a rich red wine reduction. By searing deeply, braising low and slow at 325°F in a Dutch oven, and defatting the cooking liquid, you achieve succulent meat and a glossy, balanced pan sauce.

Leo Campbell is the founder, recipe developer, and culinary voice behind Recipe Morsil. With nearly a decade of hands-on home cooking and professional baking experience, Leo tests every recipe multiple times to ensure reliable, fail-proof results in real home kitchens. When he’s not fine-tuning spices or testing cook times, he’s helping home cooks build confidence one bite at a time.
Connect with Leo via [Instagram/Email] or explore his verified recipes below.